New to Stickbows
WANT TO GIVE THE STICKBOW A SHOT?
In the beginning, I’d suggest you try and tap into any local resources. “Do you have any friends that shoot traditional bows? Any archery clubs or archery ranges near by?” This may help as you may be able to borrow bows and arrows during the learning stages. If not, a few companies build traditional bows for under $150.00 USD. In the beginning, I’d recommend purchasing the most inexpensive bow. Another option would be to find a used bow. There are many used bows available these days. So start off by borrowing or purchasing an inexpensive or used bow.
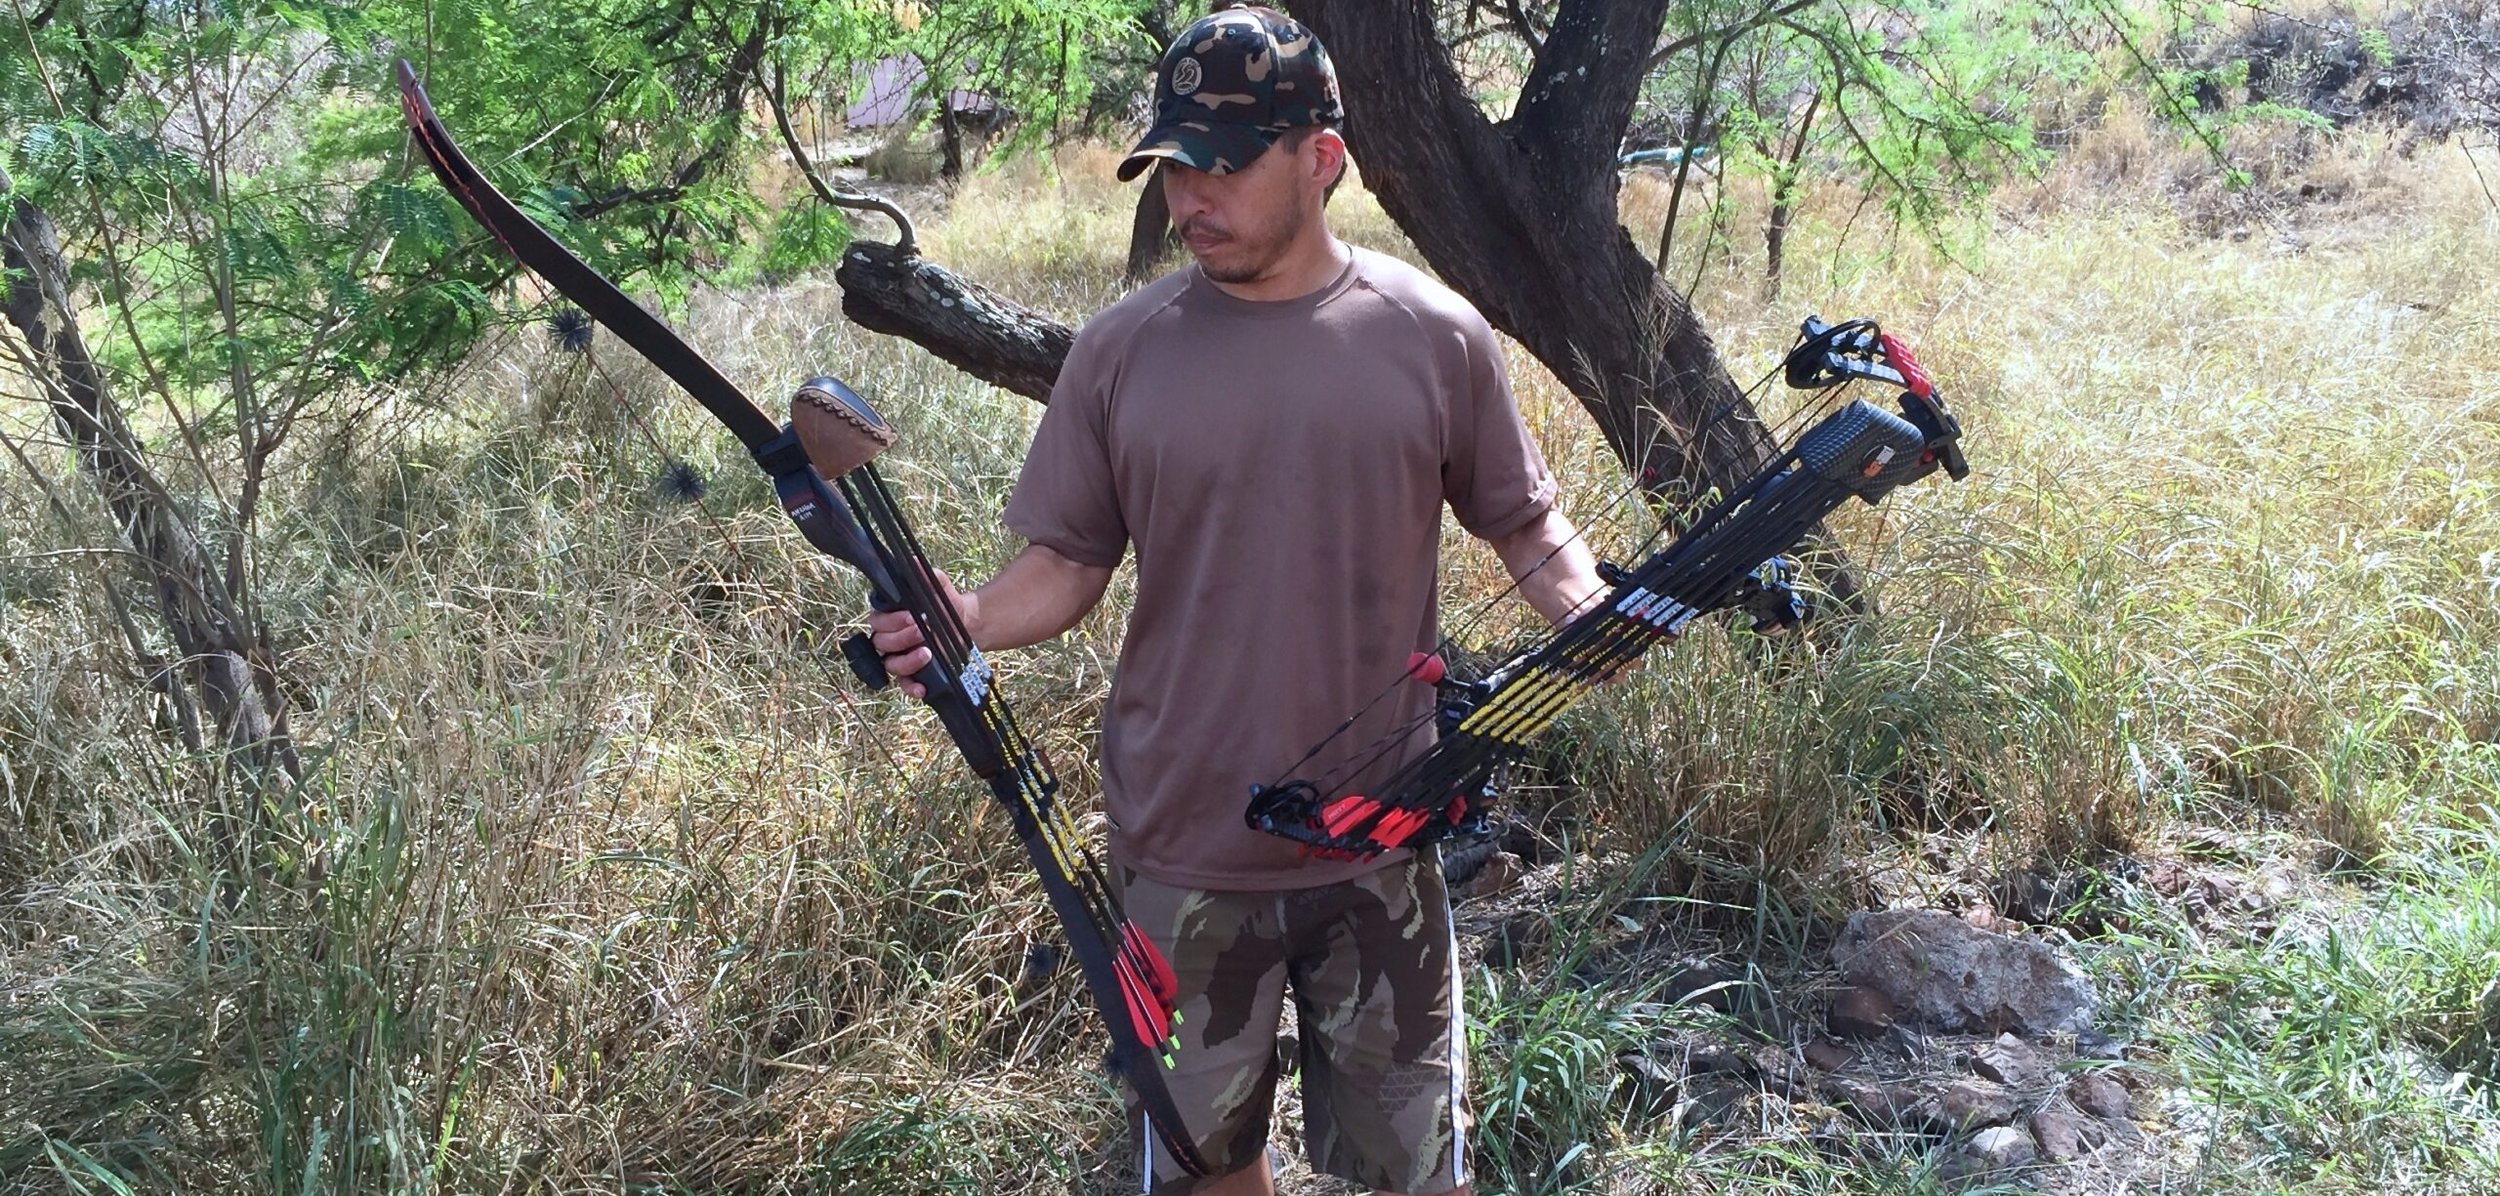
LONGBOW OR RECURVE?
What should I buy? These days you can find recurves that perform similar to longbows and vise versa. You can find recurves and longbows available in one, two and three piece models. In addition, you can buy a “short” longbow or a long recurve. The design of many recurves and longbows have significantly changed in recent years. To simplify the definition between the two — When a bow is strung and at proper brace, if the string comes in contact with the limb near the limb tip, it’s a recurve. If the string only comes in contact with the string grooves, then it’s a longbow. There’s also what some refer to as hybrids, but we’ll save that for another day. If you can’t find a bow to borrow, I’d suggest looking for a three piece recurve with a shelf that’s cut past center. In addition, if you buy a production three piece bow, you can move up in weight by simply buying replacement limbs.
BOW & DRAW LENGTH
Generally bowyers will use an AMO measurement in which they measure from one string nock, down the belly (side facing the shooter, when shooting the bow) and to the other side of the string nock. The AMO length of the bow has an effect on the draw force curve which also affects the person’s draw length. Basically, the more you pull, the heavier the draw weight. In most cases, the longer bows will accommodate for longer draw lengths. With a stickbow, there are no draw stops (unless you use some type of clicker) and two things can happen, one you’ll hit a point where the bow will start to “stack”, meaning for every inch of draw (near your draw length), the weight starts to increase by about four or more pounds per inch. Or two, you could potentially keep pulling the bow until the limbs break. Most bowyers will indicate their max or range of draw length for their bows. For example, my 56” Stalker Coyote has a max DL of 27”. For now, take your current compound DL and find a bow length that will accommodate that draw. Generally, if you have a 28” DL, recurves that are marked 58”, 60”, 62” should work, but always double check with the manufacturer, bowyer or pro shop owner before purchasing.
START OFF LIGHT
First and foremost, start off with a light weight bow. Often times I see guys wanting to use a heavy weight bow off the start. One thing you must remember, a traditional bow does not have a “let off”. For example, if you're currently shooting a 70-pound compound, at full draw, you may be holding only ten to twenty pounds, depending on bow make and model. If you shoot a 70-pound (at your draw) recurve, you’ll be holding 70 pounds at full draw. I’ve seen many negative impacts from starting off too heavy. Guys will compromise their form. Some will end up shooting too fast (not constantly hitting their anchor). Others struggle with finding their anchor and worst case scenario, you can get hurt. I feel when you first start, you should be able to slowly draw the bow back to anchor and hold for a count of at least six seconds and then slowly let down. This should give you enough time to learn a shot sequence, something that I feel has greatly influenced my shooting in a positive way. For example, when I shot compounds, I shot between 65 to 70-pounds and I feel the best “learning weight” for me is about 40 to 45-pounds. Keep in mind, many production bows are marked at a 28” DL. For example, 50# @ 28”. This measurement is also AMO, meaning the distance is taken at full draw, from the throat of the arrow nock to 1 3/4” past the throat of the grip. Let’s say you have a 27” DL. That could mean your bow would be close to 47 pounds at your draw. A 26” DL may give you around 44 pounds. Now anything over 28” will give you more poundage. At 29” you may be at 53 pounds. As mentioned earlier, once you start hitting the max draw length, the poundage will start to bump up four to five pounds per inch, then continue to increase in weight drastically. If you end up with a custom bow, many bowyers will mark the weight to your draw length specifications. All my custom bows are marked at my 26.5” DL.
INITIAL SET-UP
Now, for setting up your bow. The two things to pay attention to would be your brace height and nock point. Most bows will come with a recommendation and you would check measurement the same as you would a compound. For now, don’t worry too much about tuning. Yes, I’m a tuning nut, but at this point don't get extreme. Steer away from the bare shafting and paper tuning at this point. Find a local archery shop or spine calculator just to get you in the ball park in terms of spine. Then build an arrow around the 9 to 10 GPP mark. So if you're beginning with 40 pounds, try to build a feathered fletched arrow with a total weight around 360-400 grains or more. I feel, you can't tune until your form is consistent, so concentrate on your form in the early stages. Without a consistent form, you’ll only be spinning your wheels during the fine tuning process.
BASIC SHOT SEQUENCE
So how do you begin working on your “form”. I suggest, create a basic shot sequence. Some of you may have heard me reference a shot sequence before. This has been one of the best things that has helped me as well as others who I’ve helped. For detailed information on a basic shot sequence, please visit the RESOURCE videos. In those series of videos, I also describe the difference between shooting spilt finger and three under. Those videos are probably easier to follow and understand, but here’s a brief written explanation. Go through your basic steps in shooting and talk yourself through it. Set your bow hand, set string hand, strong draw, anchor, aim, back tension and break the shot. Although a shot sequence is unique to the individual shooter, I do believe many of the fundamentals to “good shooting” remain the same. The great part of having a lighter weight bow laying around is now you have a tool to use to work on every individual aspect of your sequence. Let’s say you're struggling with finding a “face anchor”. With a lighter weight bow, you can spend time at full draw manipulating your hands and face to mesh the two. With a bow that’s too heavy, you wont have the luxury. Just remember, a shot sequence is only as strong as your weakest “link”. Start and end strong.
INITIAL AIMING
So now that you're ready to loose an arrow, how do you aim? Firstly, don’t worry about hitting the X. One of the biggest mistakes I see when someone is starting off is they’ll do anything to hit the X (especially if others are around watching). They could be short drawing (not hitting anchor) and ignoring their shot sequence, just to hit the mark. Form is so critical to mastering the stickbow. If you're compromising your form from the start, trying to correct it later may be a difficult thing to do. Once your shot sequence and form is ingrained, then spend as much time as you want on accuracy. I’ll definitely discuss more about my aiming style in future videos.
LIMIT YOUR DISTANCE
If your goal is to shoot far from day one, you may want to rethink shooting a traditional bow. More than a handful of times I’ve asked guys to start off at the ten yard bale. Here are some common responses. “Ten yards is too close for me.” “I want to be able to harvest animals out to 50-60 yards.” Goals are a good thing to have, but when you're first starting out, shooting far shouldn't be one of the first things to work on. Yes, I do understand, shooting at further distance has it’s learning benefits, but not at this point. In the beginning, I’d suggest you practice close. You have so many things to work on from the start, I’d save distance shooting for when you've become more proficient with the stick and string.
IN SUMMARY
So in summary, find an inexpensive bow with a manageable poundage, pair it with arrows of the correct spine. Build yourself a basic shot sequence and concentrate on your form. Don't worry about hitting the X and shoot close. Once you’ve built that foundation and found that comfortable hunting weight, it’ll be time to move on to fine tuning and aiming refinement.